Vinyl Fascia Installation | How To
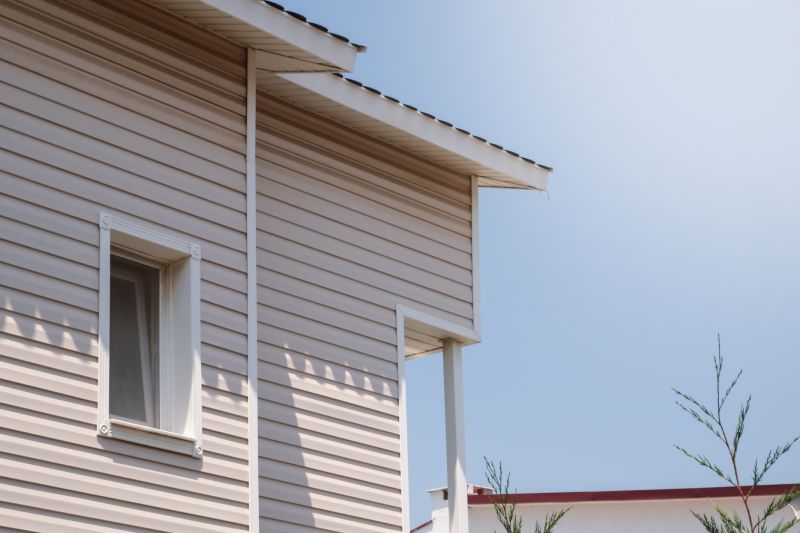
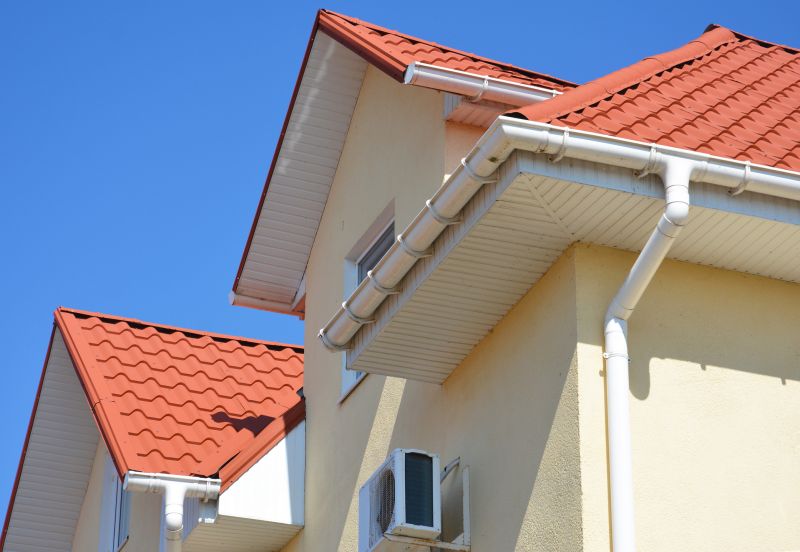
Get help with your vinyl fascia installation needs. Fill out the form above and we will connect you with local pros in your area. Vinyl Fascia Installation is a professional service that involves the installation of vinyl fascia boards on the exterior of a building. This process helps enhance the aesthetic appeal of the property while providing protection against moisture and other external elements. Vinyl fascia boards are durable, low-maintenance, and come in various colors and styles to complement any architectural design. With the expertise of skilled technicians, Vinyl Fascia Installation ensures a seamless and precise installation, resulting in a polished finish that adds value to your home or business. The installation process is efficient and reliable, carried out by experienced professionals who prioritize attention to detail and customer satisfaction.
How to Install Vinyl Fascia
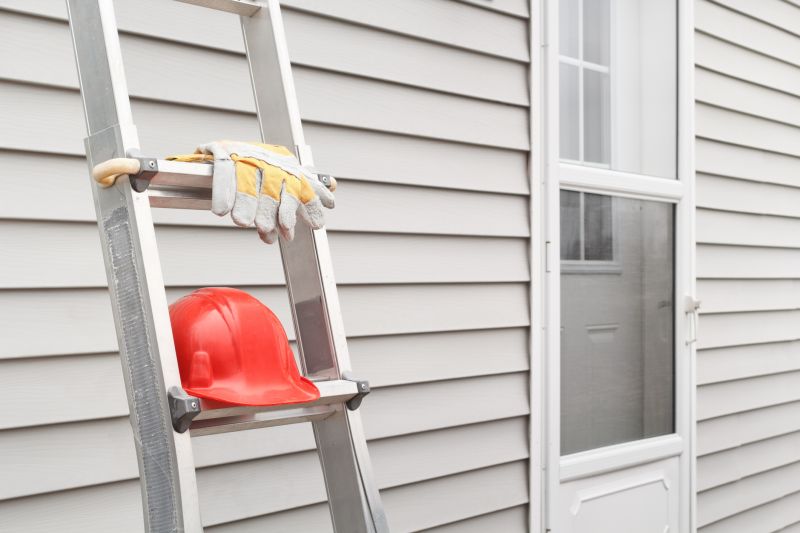
Step 1: Gather the Necessary Tools and Materials
Before you start the installation process, make sure you have the following tools and materials:
- Vinyl fascia boards
- Measuring tape
- Pencil
- Level
- Screws
- Power drill
- Saw
- Hammer
- Nails
- Safety goggles
- Gloves
Step 2: Measure and Cut the Vinyl Fascia
Measure the length of the area where you will be installing the vinyl fascia. Use a pencil to mark the measurements on the fascia boards. Use a saw to cut the boards to the appropriate length.
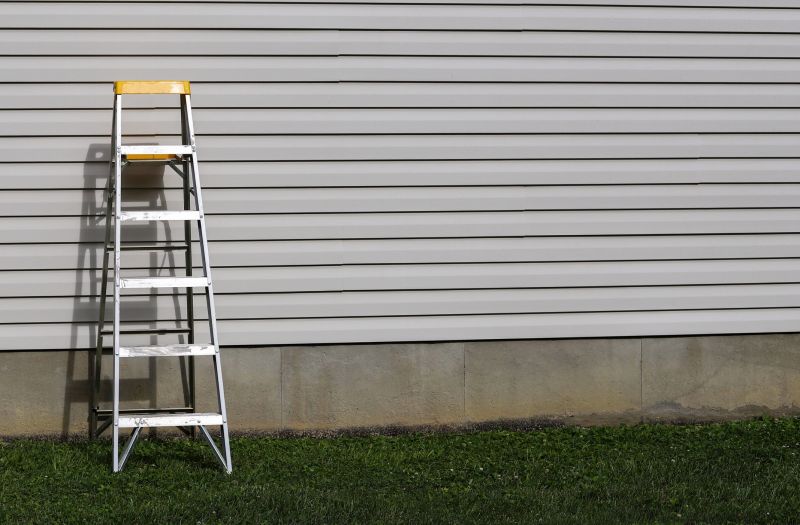
Step 3: Prepare the Installation Area
Clean the area where the vinyl fascia will be installed. Remove any old fascia boards, nails, or debris. Ensure that the surface is smooth and free from any obstructions.
Step 4: Install the Starter Strip
Begin by installing a starter strip along the bottom of the installation area. Use screws to secure the strip to the surface. Make sure it is level and properly aligned.
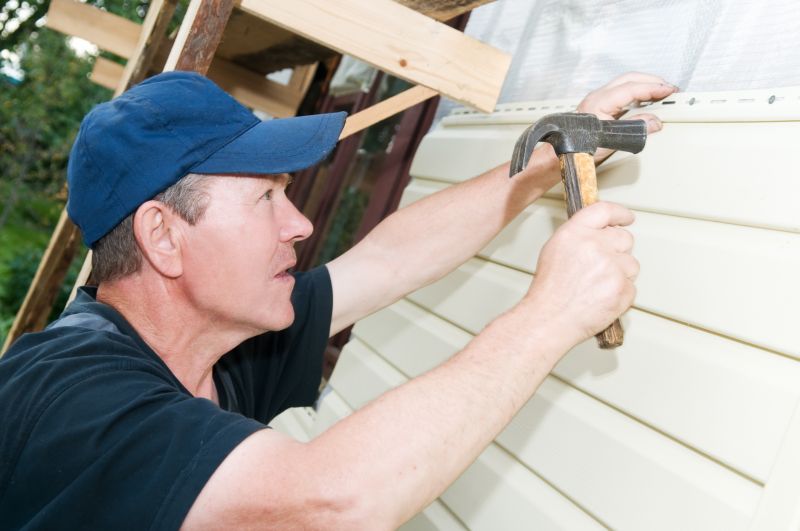
Step 5: Attach the Vinyl Fascia Boards
Starting from one end, position the first vinyl fascia board against the starter strip. Use a power drill to insert screws through the board and into the surface. Repeat this process for each fascia board, ensuring they are properly aligned and level.
Step 6: Secure the Ends
Once all the fascia boards are installed, secure the ends by using nails or screws. This will help prevent the boards from shifting or coming loose over time.
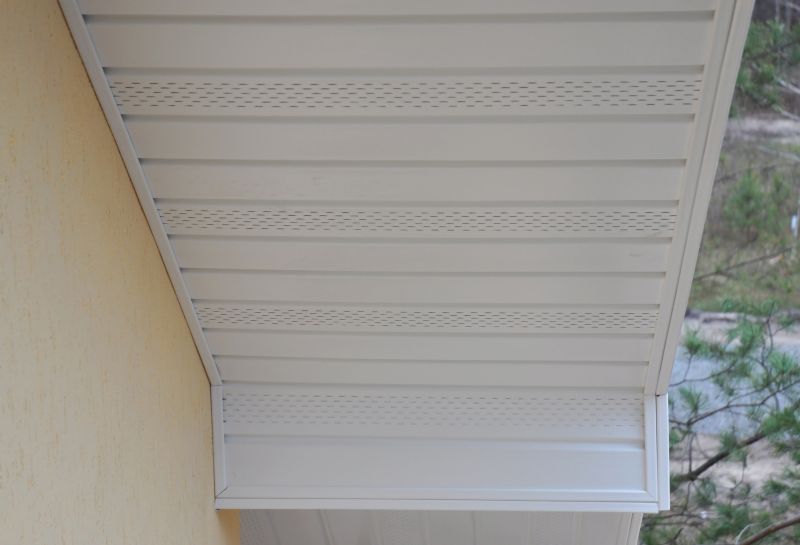
Step 7: Finishing Touches
Inspect the installation to ensure all the boards are securely in place. Clean up any debris or excess material. Put on safety goggles and gloves, and use a hammer to cover the nail heads with vinyl fascia caps for a finished look.
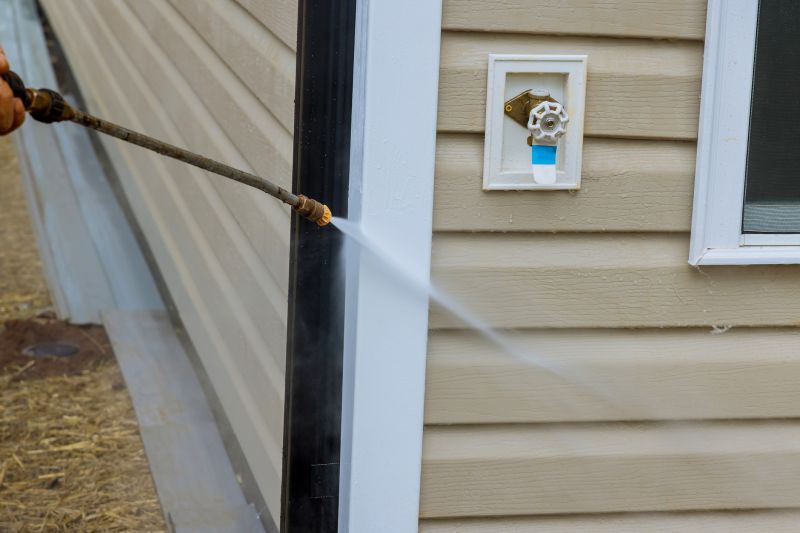
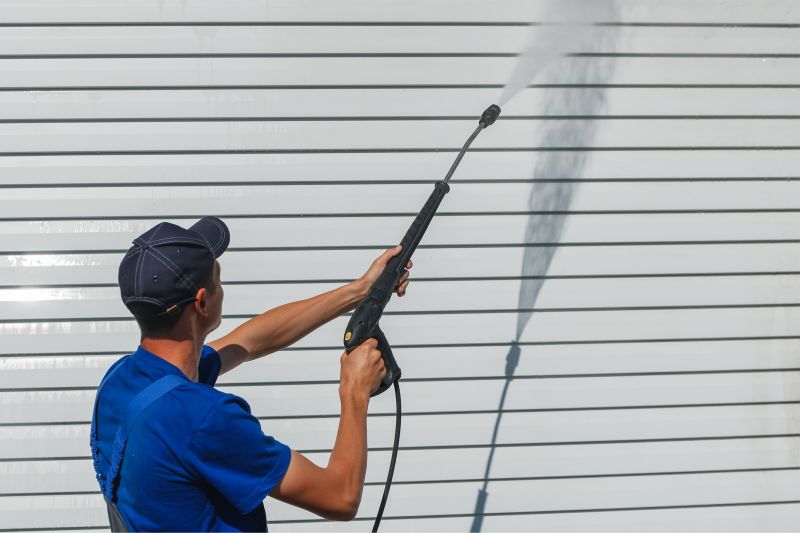
Step 8: Maintenance Tips
To keep your vinyl fascia looking its best, regularly clean it with a mild detergent and water. Avoid using abrasive cleaners or tools that could scratch the surface. Inspect the fascia periodically for any damage and make repairs as needed.
By following these steps, you can successfully install vinyl fascia and enhance the appearance and durability of your home's exterior.