Vinyl Siding Repair | How To
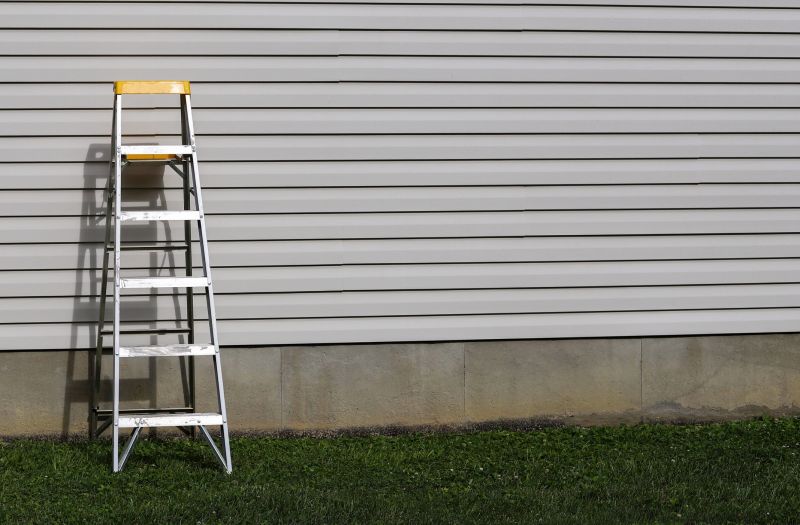
Get help with your vinyl siding repair needs. Fill out the form above and we will connect you with local pros in your area. Vinyl siding repair is a professional service that focuses on fixing and restoring damaged vinyl siding. This specialized service is designed to address issues such as cracks, holes, dents, or fading in vinyl siding, ensuring that your home's exterior remains in optimal condition. With the expertise of experienced professionals, vinyl siding repair offers a cost-effective solution to enhance the appearance and durability of your home. Whether it's repairing minor damages or addressing more extensive issues, vinyl siding repair experts have the necessary skills and knowledge to restore your siding to its original state. By utilizing their expertise, homeowners can maintain the aesthetic appeal and functionality of their vinyl siding for years to come.
How to Do Vinyl Siding Repair
Introduction
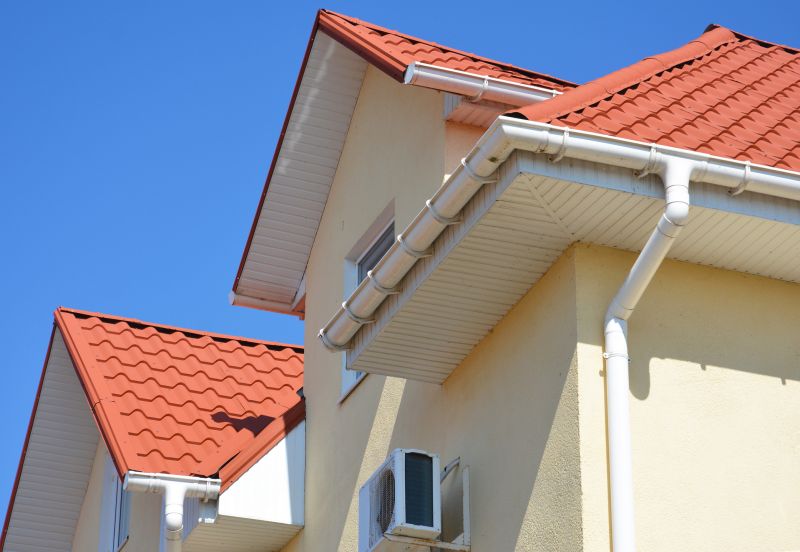
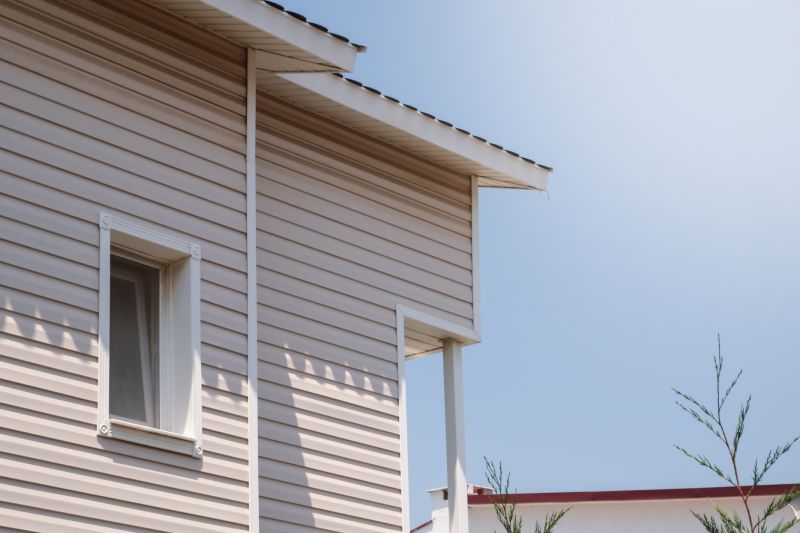
Vinyl siding is a popular choice for many homeowners due to its durability and low maintenance. However, over time, it may require repairs due to damage from weather, accidents, or other factors. In this article, we will guide you through the steps to effectively repair vinyl siding.
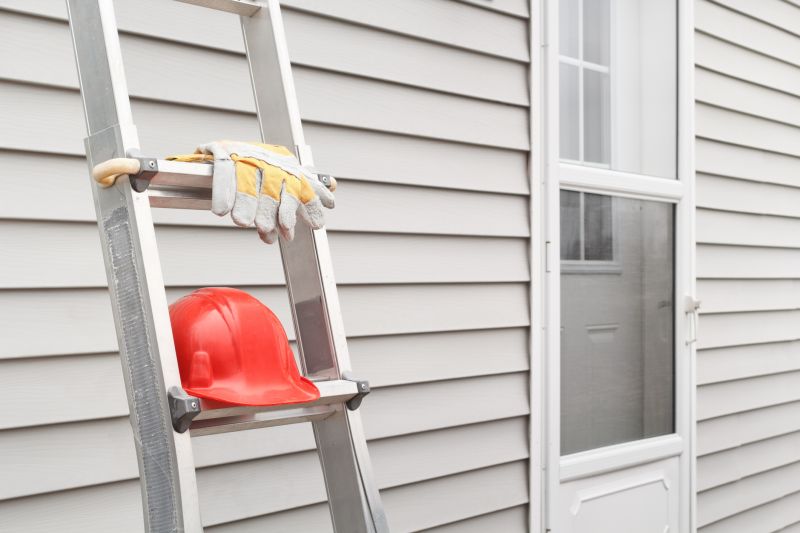
Materials Needed
- Replacement vinyl siding
- Utility knife
- Tin snips
- Hammer
- Nails
- Level
- Measuring tape
- Vinyl siding zip tool
- Sealant
Step 1: Assess the Damage
Before starting the repair process, carefully examine the damaged area of the vinyl siding. Determine the extent of the damage and assess whether a repair or replacement is needed.
Step 2: Remove the Damaged Siding
Using a vinyl siding zip tool, gently unlock the damaged siding from the neighboring pieces. Carefully remove the nails or fasteners securing the damaged siding to the wall. Take caution not to damage the surrounding siding.
Step 3: Cut the Replacement Siding
Measure the length of the damaged siding and use a measuring tape and tin snips to cut the replacement siding to the appropriate size. Ensure that the new piece matches the style and color of the existing siding.
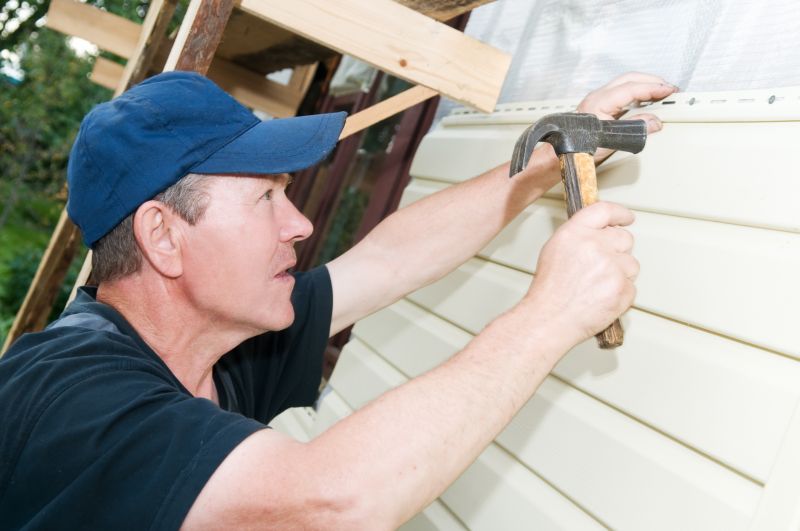
Step 4: Install the Replacement Siding
Slide the replacement siding into place, aligning it with the neighboring pieces. Use a level to ensure it is straight. Secure the new siding by nailing it into place, making sure to leave a small gap for expansion. Use a hammer to gently tap the nails in.
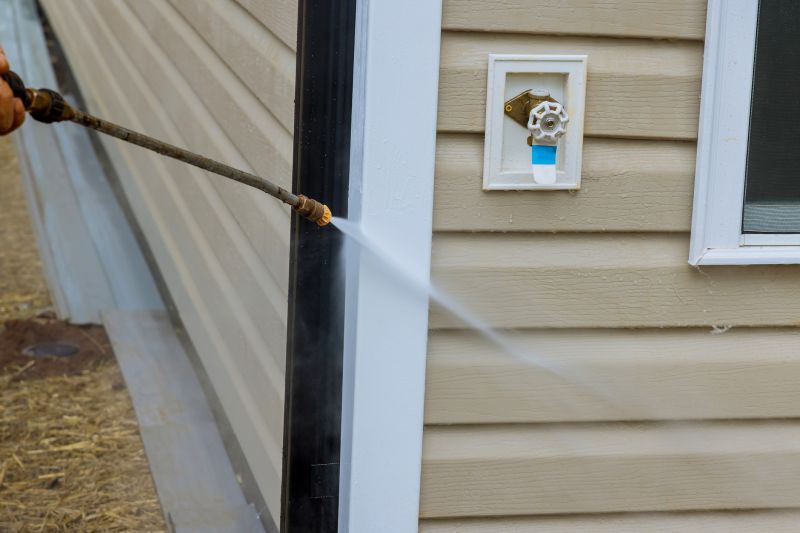
Step 5: Seal and Finish
Apply a small amount of sealant to the edges of the new siding to prevent moisture from seeping in. Smooth out the sealant with a finger or a putty knife. Inspect the repaired area to ensure it blends seamlessly with the rest of the siding.
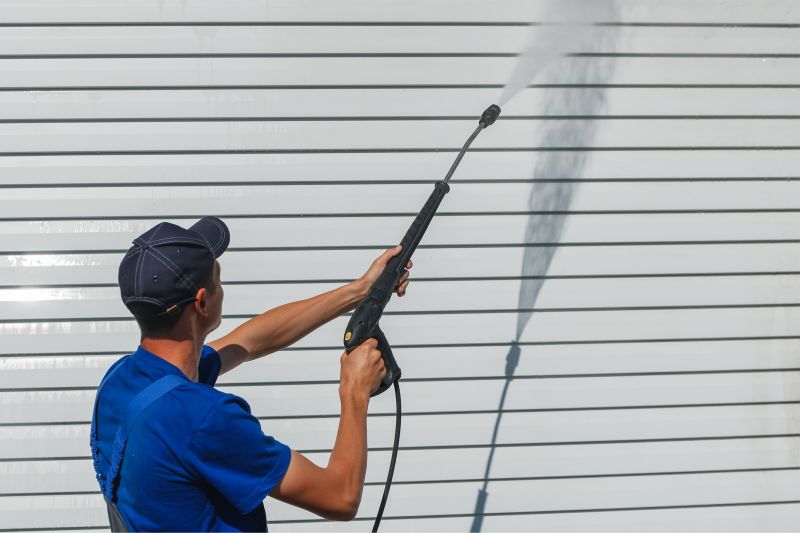
Step 6: Clean Up
Dispose of any removed or excess materials properly. Clean the surrounding area to remove any debris or dust generated during the repair process.
Conclusion
By following these steps, you can effectively repair vinyl siding and restore its appearance and functionality. Remember to always take safety precautions and consult a professional if you feel unsure about any aspect of the repair process.