Vinyl Siding Removal | How To
Get help with your vinyl siding removal needs. Fill out the form above and we will connect you with local pros in your area. Vinyl siding removal refers to the process of taking down or replacing the vinyl panels that are installed on the exterior of a building. This procedure is typically carried out to update the appearance of a property, address damage or wear and tear, or to prepare for a new siding installation. By removing vinyl siding, homeowners or contractors can access the underlying structure, inspect for any issues, and make necessary repairs or modifications. This task requires careful handling to avoid causing further damage to the property. Whether you are considering a renovation project or addressing maintenance needs, vinyl siding removal can be an essential step in enhancing the aesthetics and functionality of your home or building.
How to Remove Vinyl Siding
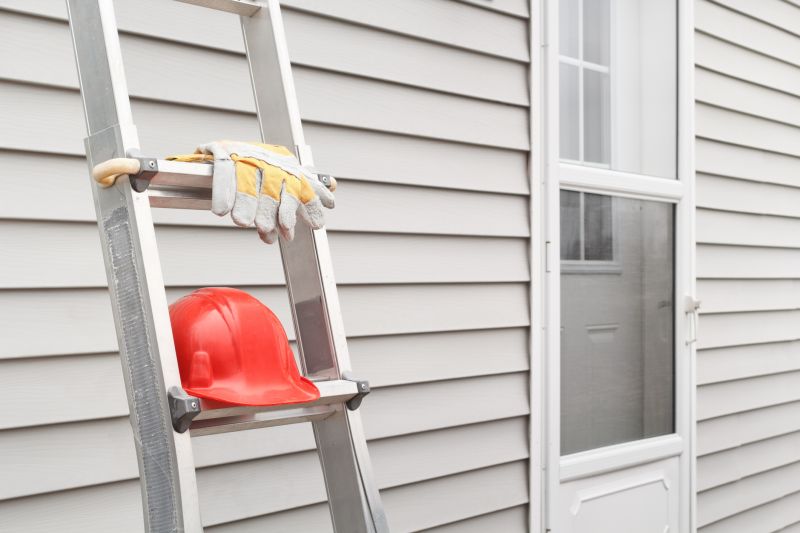
Step 1: Gather the necessary tools
Before you begin, make sure you have the following tools:
- Vinyl siding removal tool
- Hammer
- Pry bar
- Safety goggles
- Gloves
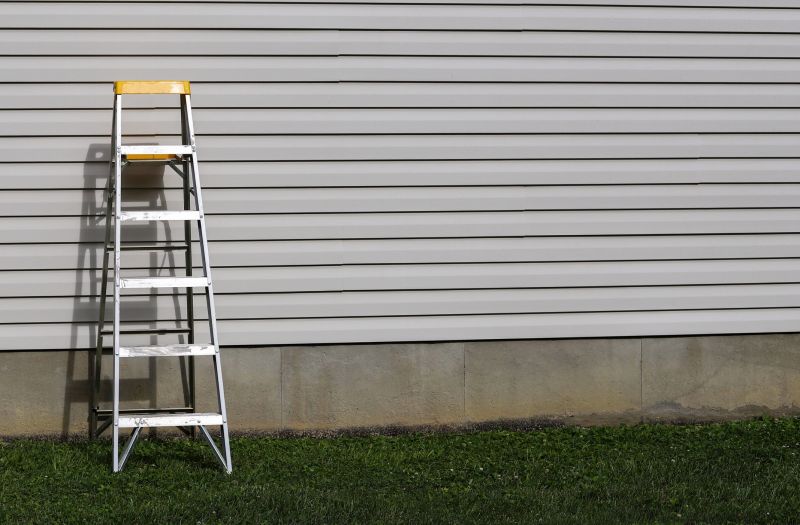
Step 2: Prepare the work area
Clean the area around the vinyl siding and remove any obstacles that may hinder the removal process.
Step 3: Start at the bottom
Begin at the bottom of the wall where the vinyl siding is attached. Insert the vinyl siding removal tool between the bottom edge of the siding panel and the J-channel.
Step 4: Slide and unlock
Gently slide the vinyl siding removal tool along the bottom edge of the panel, unlocking it from the J-channel as you go. Be careful not to damage the siding or the J-channel.
Step 5: Remove the panel
Once the panel is unlocked, lift it up and away from the wall. Set it aside carefully to avoid any breakage.
Step 6: Continue with the remaining panels
Repeat steps 3 to 5 for each vinyl siding panel until you have removed all the desired panels.
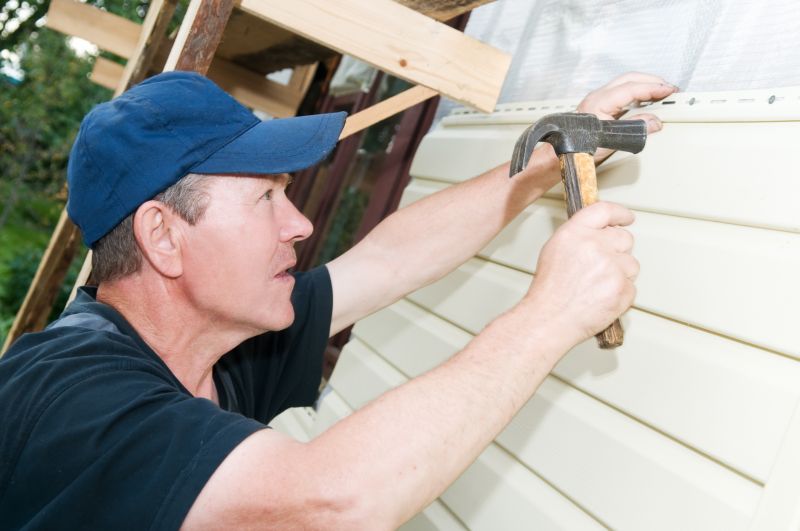
Step 7: Remove nails or staples
Inspect the wall for any remaining nails or staples. Use a hammer or pry bar to remove them carefully.
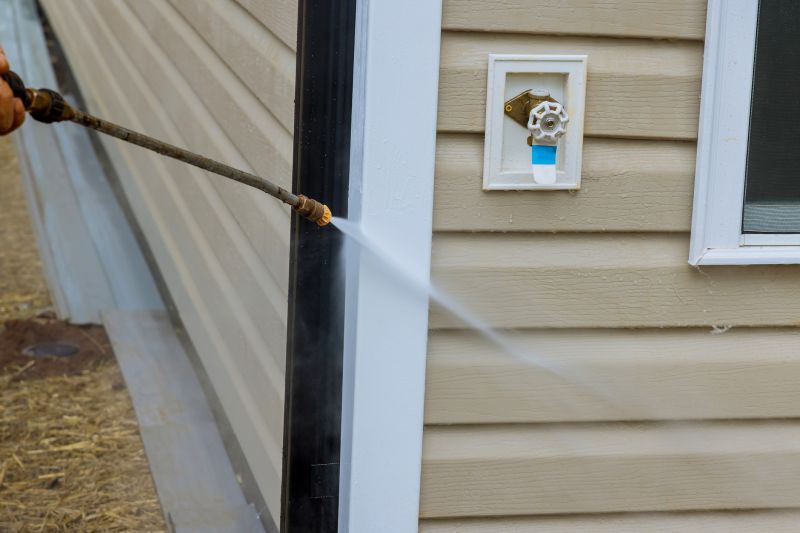
Step 8: Clean up
Dispose of the removed vinyl siding panels properly and clean up the work area.
Step 9: Evaluate and repair
Assess the condition of the wall and make any necessary repairs or preparations before installing new siding.
Step 10: Install new siding (optional)
If you plan to replace the vinyl siding, follow the manufacturer's instructions for installation.
By following these steps, you can easily remove vinyl siding from your home.