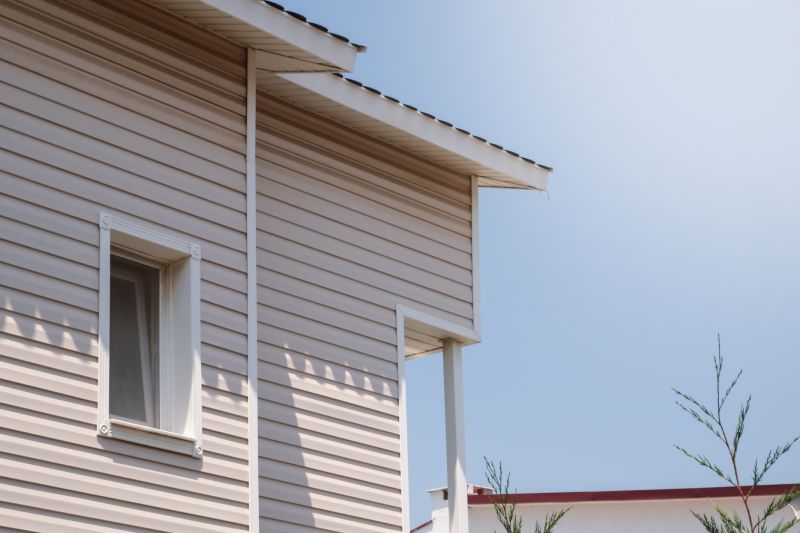
Vinyl Siding Replacement | How To
Get help with your vinyl siding replacement needs. Fill out the form above and we will connect you with local pros in your area. Vinyl siding replacement is a popular home improvement project that involves the removal and replacement of existing vinyl siding on a house. This process is typically undertaken to enhance the appearance, durability, and energy efficiency of the home's exterior. Vinyl siding replacement offers homeowners the opportunity to update the look of their house while also providing better protection against the elements. By opting for vinyl siding replacement, homeowners can enjoy a low-maintenance solution that is resistant to rot, moisture, and insects. This cost-effective renovation can significantly increase the curb appeal and value of a property, making it an attractive option for those seeking to refresh the exterior of their home.
How to Replace Vinyl Siding
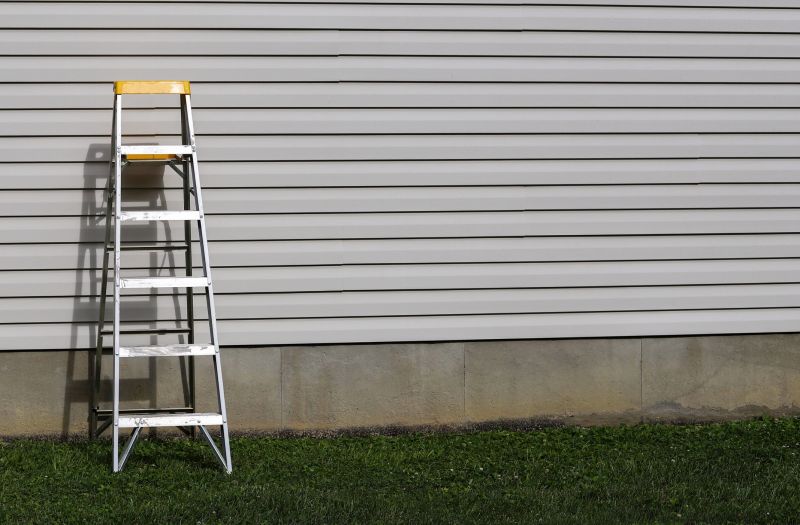
Step 1: Prepare the Work Area
Before starting the vinyl siding replacement process, make sure to clear the area around the section to be replaced. Remove any obstacles or debris that could hinder your work.
Step 2: Remove the Damaged Siding
Using a pry bar or siding removal tool, carefully detach the damaged vinyl siding from the house. Start at the bottom of the section and work your way up.
Step 3: Inspect and Repair the Underlying Surface
Once the damaged siding is removed, inspect the underlying surface for any signs of damage or rot. Repair or replace any damaged areas to ensure a solid foundation for the new siding.
Step 4: Measure and Cut the Replacement Siding
Measure the length needed for the replacement siding, allowing for a small gap on each end. Use a utility knife or tin snips to carefully cut the vinyl siding to the correct size.
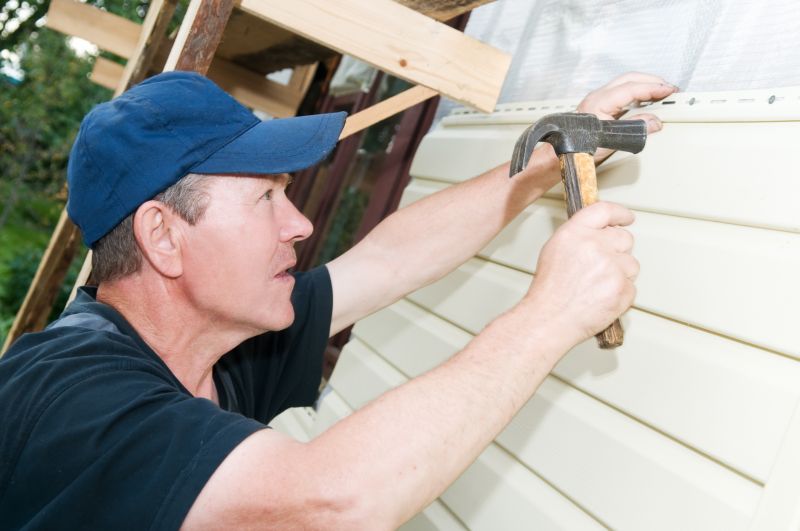
Step 5: Install the Replacement Siding
Starting at the bottom, slide the replacement siding into the channel of the neighboring pieces. Make sure it is properly aligned and level. Use a zip tool or siding lock tool to secure the siding in place.
Step 6: Secure the Siding
Once the replacement siding is in place, use a nail gun or siding nails to secure it to the underlying surface. Place the nails in the center of the nailing slots, allowing for expansion and contraction.
Step 7: Continue with the Remaining Sections
If there are additional sections of vinyl siding that need replacement, repeat steps 2 to 6 for each section until the project is complete.
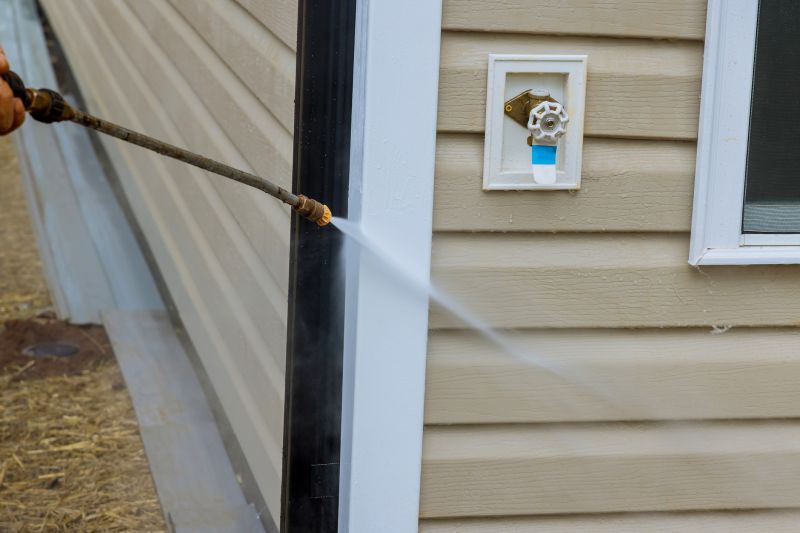
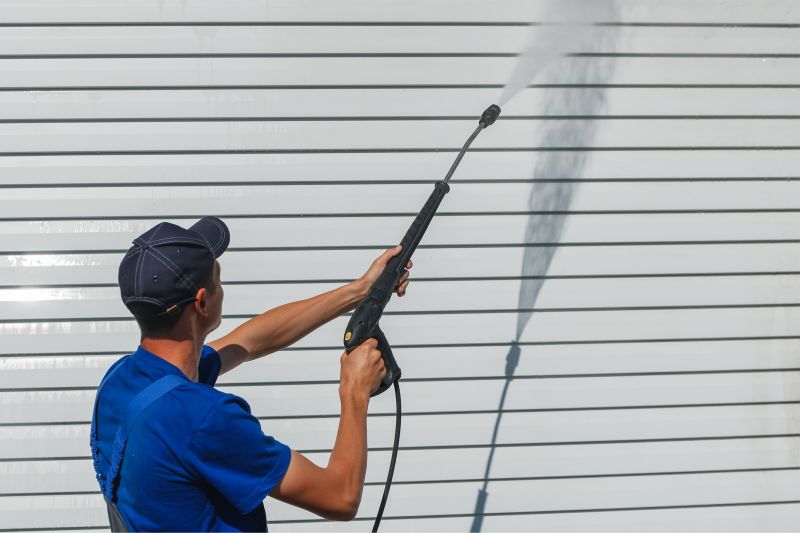
Step 8: Clean and Inspect
After all the replacement siding is installed, clean the area and inspect the work to ensure everything is properly secured and aligned. Make any necessary adjustments or touch-ups as needed.
Step 9: Enjoy Your New Vinyl Siding
With the vinyl siding replacement complete, step back and admire your handiwork. Enjoy the improved appearance and protection of your home's exterior.