Vinyl Soffit Installation | How To
Get help with your vinyl soffit installation needs. Fill out the form above and we will connect you with local pros in your area. Vinyl soffit installation is a professional service that involves the installation of vinyl soffit panels on the underside of the eaves of a building. This installation process helps to enhance the aesthetic appeal of the structure while also providing functional benefits. By preventing the entry of pests, insects, and moisture into the attic or crawl space, vinyl soffit installation helps to maintain the integrity of the building's structure. The installation process is carried out by experienced professionals who possess the necessary expertise and skills to ensure a seamless and durable installation. With their attention to detail and precision, these experts ensure that the vinyl soffit panels are securely attached, providing long-lasting protection and enhancing the overall appearance of the building.
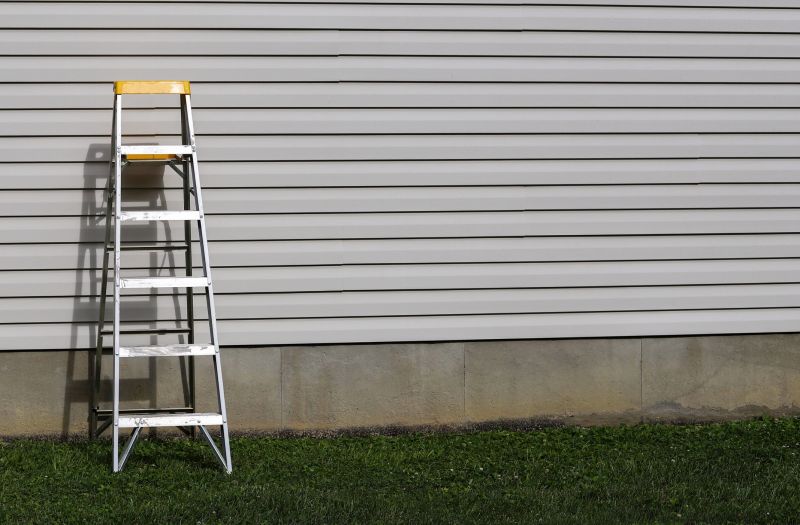
Start by clearing the area where you will be installing the vinyl soffit. Remove any existing soffit materials, trim, or debris. Ensure that the underlying surface is clean and smooth.
Measure the length and width of the soffit area to determine the amount of vinyl soffit material you will need. Add a few extra inches to each measurement for a proper fit and to account for any cuts or adjustments that may be required.
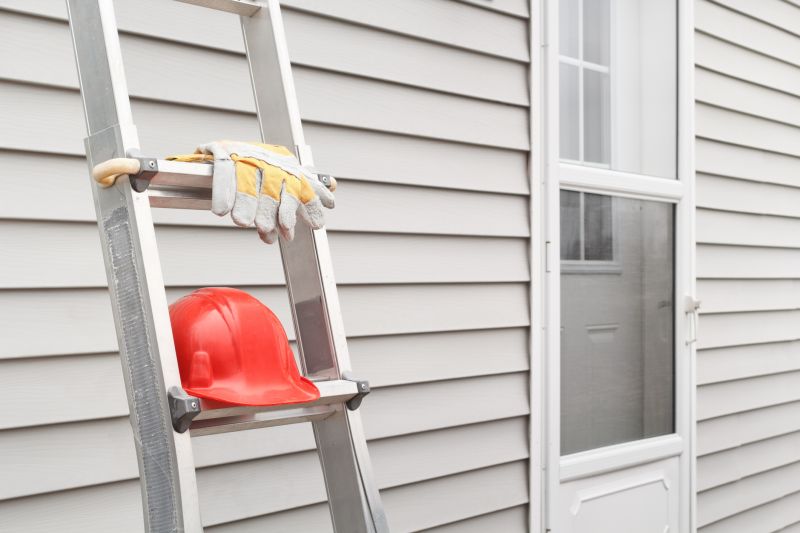
Using a saw or shears, cut the vinyl soffit panels according to your measurements. Make sure to wear appropriate safety gear, such as gloves and eye protection, while cutting the panels.
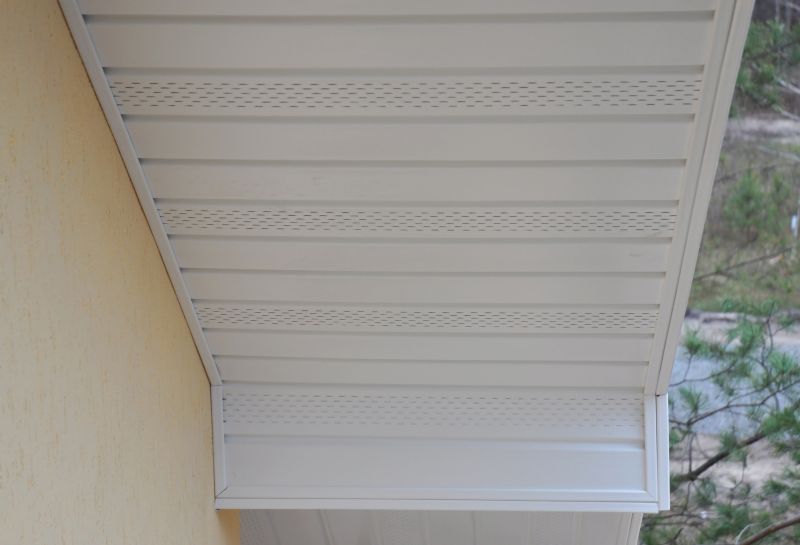
Begin by installing the J-channel along the perimeter of the soffit area. Secure the J-channel to the fascia board using nails or screws. Ensure that the J-channel is level and straight.
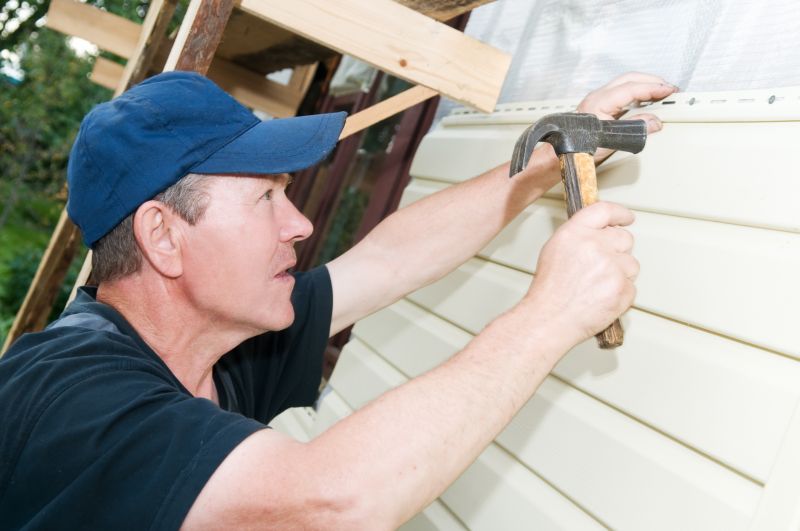
Start at one end of the soffit area and slide the first vinyl soffit panel into the J-channel. Secure the panel by nailing or screwing it into place. Continue this process, overlapping the panels slightly, until the entire soffit area is covered.
Once all the panels are in place, trim any excess material if necessary. Make sure that all panels are securely fastened and aligned. Check for any gaps or uneven areas and make adjustments as needed.
How to Install Vinyl Soffit
Step 1: Prepare the Work Area
Step 2: Take Accurate Measurements
Step 3: Cut the Vinyl Soffit Panels
Step 4: Install the J-Channel
Step 5: Attach the Soffit Panels
Step 6: Complete the Installation