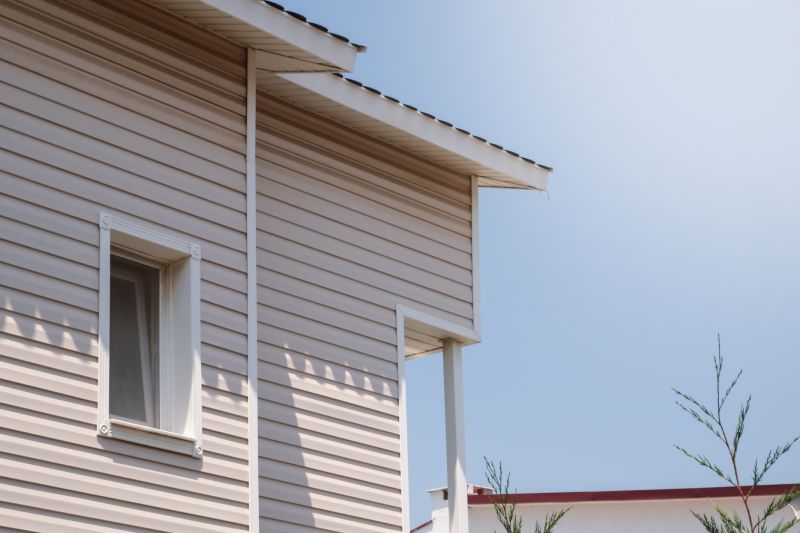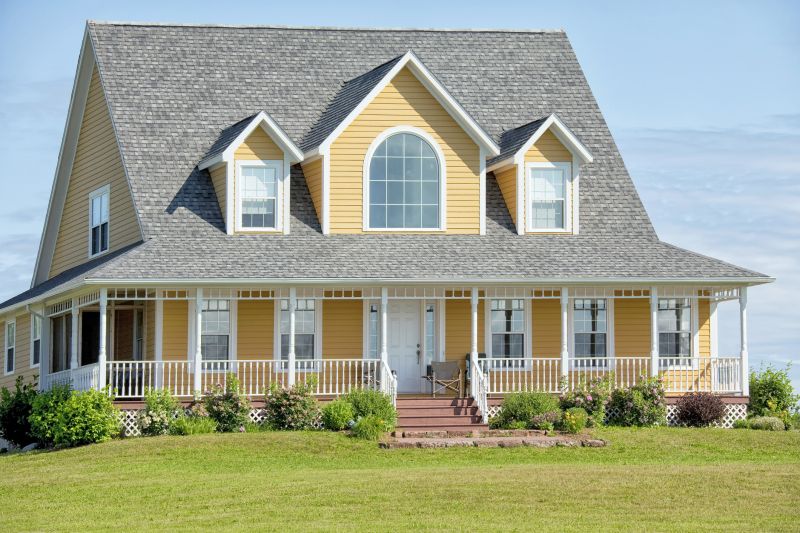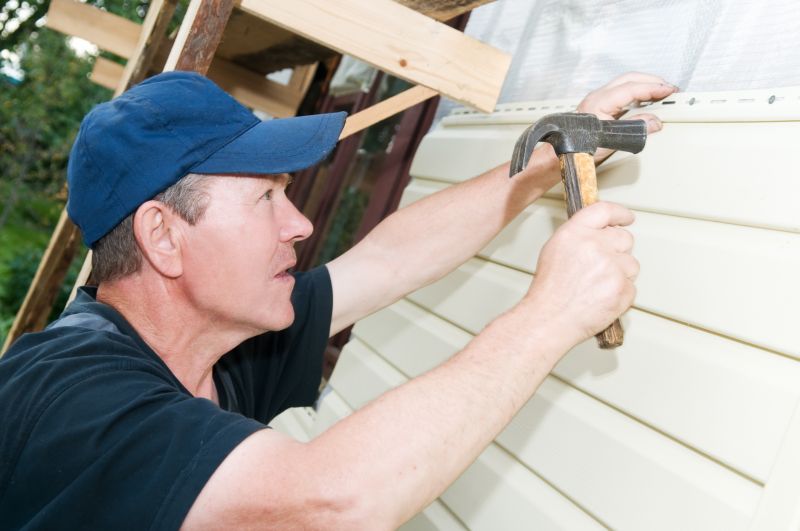
Vinyl Siding Powerwashing | How To
Get help with your vinyl siding powerwashing needs. Fill out the form above and we will connect you with local pros in your area. Vinyl siding powerwashing is a professional service that involves the thorough cleaning and revitalization of vinyl siding on residential and commercial buildings. This process utilizes high-pressure water and specialized cleaning solutions to effectively remove dirt, grime, mold, mildew, and other unsightly contaminants from the surface of the vinyl siding. By employing vinyl siding powerwashing, property owners can restore the original appearance of their exteriors, enhancing curb appeal and maintaining the longevity of their siding. Expert technicians utilize state-of-the-art equipment and techniques to ensure a thorough and efficient cleaning process. With vinyl siding powerwashing, you can achieve a refreshed and vibrant exterior without the need for expensive replacements or renovations.
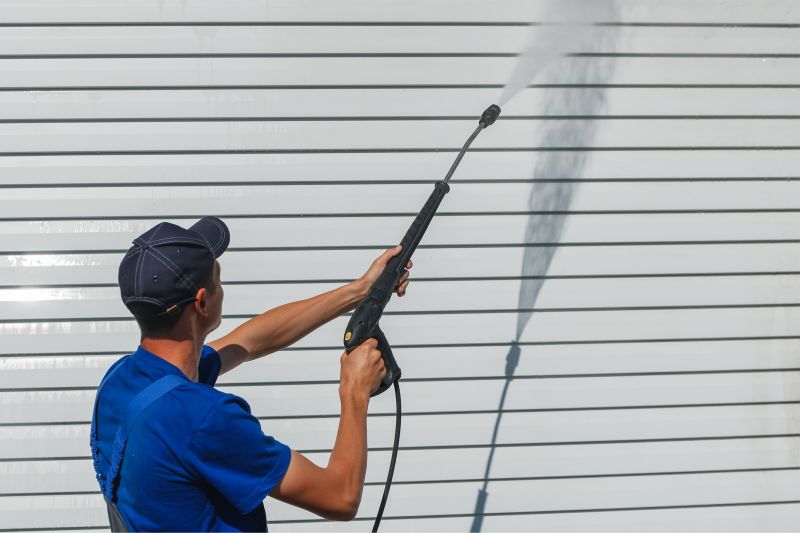
How to Powerwash Vinyl Siding
Step 1: Prepare the area
Before you begin powerwashing your vinyl siding, make sure to remove any obstacles such as furniture, plants, or decorations near the siding. Cover any delicate plants or objects that cannot be moved with a tarp or plastic sheeting to protect them from the water and cleaning solution.
Step 2: Inspect the siding
Take a close look at your vinyl siding to identify any areas that require extra attention, such as mold, mildew, or stubborn stains. This will help you determine the appropriate cleaning solution and technique to use.
Step 3: Choose the right cleaning solution
There are several options for cleaning solutions when powerwashing vinyl siding. You can use a mixture of water and mild detergent, or you can purchase a vinyl siding cleaner from your local hardware store. Make sure to follow the manufacturer's instructions for any commercial cleaning products.
Step 4: Set up the powerwasher
Connect your powerwasher to a water source and ensure that it is in good working condition. Adjust the pressure settings to a level that is safe for vinyl siding. Higher pressures may cause damage to the siding, so it's important to use a setting that is appropriate for the task.
Step 5: Wet the siding
Before applying any cleaning solution, thoroughly wet the vinyl siding with water using the powerwasher. This will help loosen any dirt or debris and make the cleaning process more effective.
Step 6: Apply the cleaning solution
Using the powerwasher, apply the chosen cleaning solution to the wet vinyl siding. Start from the bottom and work your way up to ensure that the entire surface is covered. Allow the cleaning solution to sit on the siding for a few minutes to break down any dirt or stains.
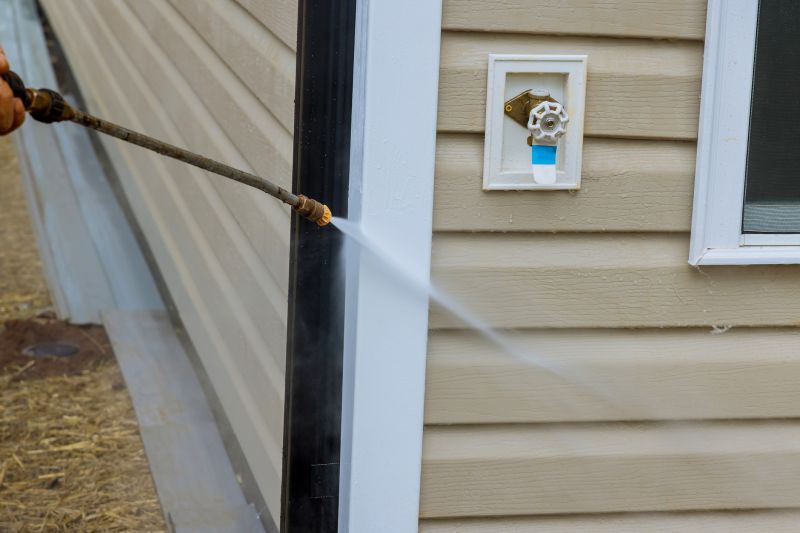
Step 7: Powerwash the siding
Using a sweeping motion, powerwash the vinyl siding from top to bottom. Keep the nozzle of the powerwasher at a safe distance from the siding to avoid causing any damage. Pay extra attention to areas with stubborn stains or mold, and adjust the pressure if necessary.
Step 8: Rinse the siding
Once you have finished powerwashing the vinyl siding, thoroughly rinse off any remaining cleaning solution with water. Start from the top and work your way down, ensuring that all the cleaning solution is removed.
Step 9: Inspect and dry
Inspect the vinyl siding to ensure that all dirt, stains, and cleaning solution have been removed. If necessary, repeat the powerwashing process in specific areas. Allow the siding to air dry completely before moving any furniture or decorations back into place.
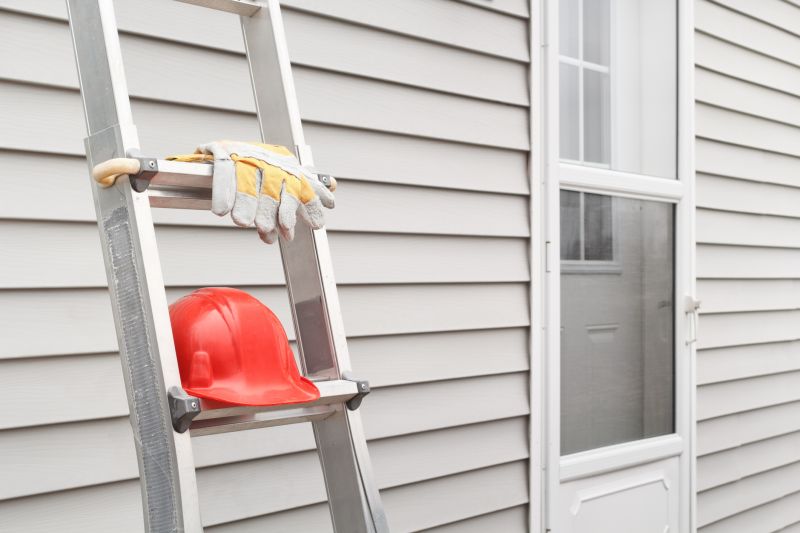
Step 10: Clean up
Properly clean and store your powerwasher, and remove any protective coverings or tarps from nearby objects or plants. Dispose of any leftover cleaning solution or rinse it down a drain according to local regulations.
Following these steps will help you effectively powerwash your vinyl siding, leaving it looking clean and refreshed.