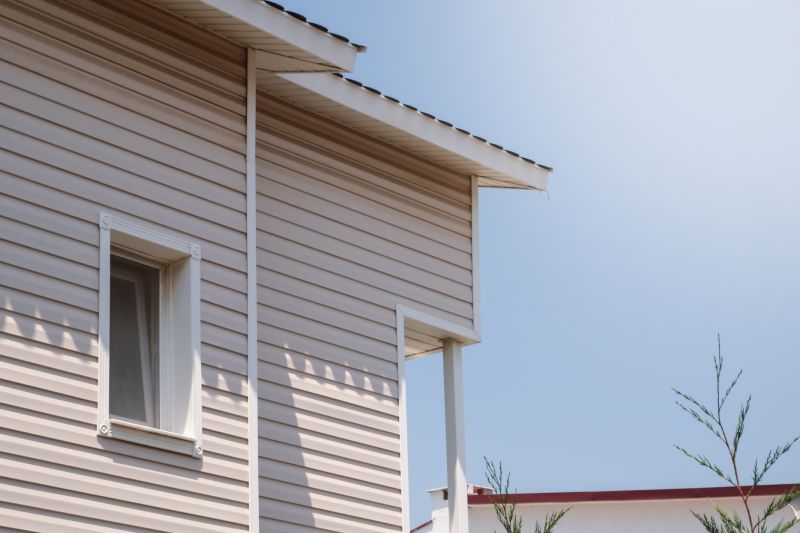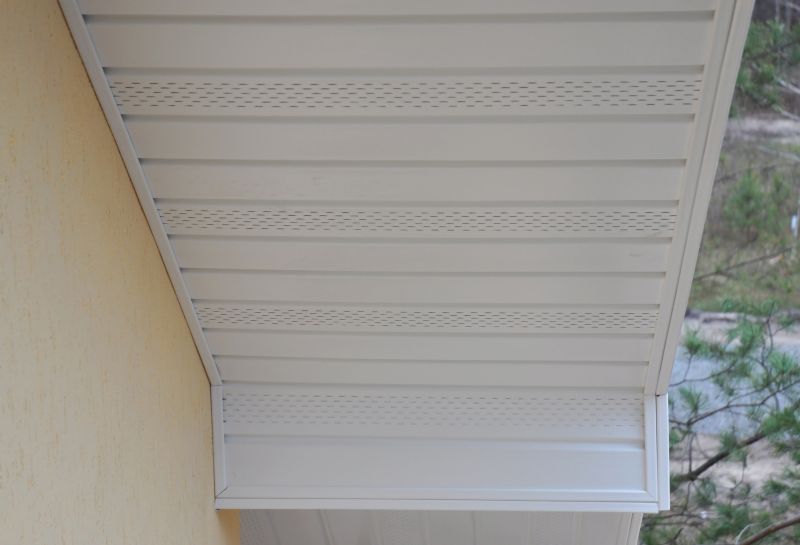
Vinyl Siding Trim Installation | How To
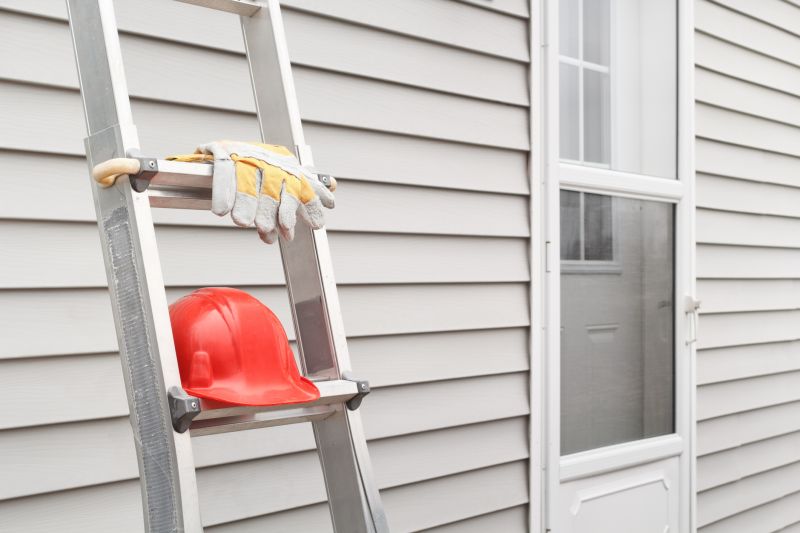
Get help with your vinyl siding trim installation needs. Fill out the form above and we will connect you with local pros in your area. Vinyl siding trim installation is a crucial process involved in enhancing the appearance and durability of a home's exterior. It involves the careful placement and attachment of vinyl trim pieces to the edges and corners of the siding. This installation not only adds a polished and finished look to the overall design but also serves as a protective barrier against moisture, insects, and other external elements. The vinyl siding trim installation process requires precision and expertise to ensure a seamless and long-lasting result. By opting for professional assistance, homeowners can achieve a flawless and aesthetically pleasing exterior for their property.
How to Install Vinyl Siding Trim
Materials Needed:
- Vinyl siding trim pieces
- Measuring tape
- Pencil
- Saw
- Nails
- Hammer
- Level
- Caulk
- Screwdriver
Step 1: Measure and Cut the Trim Pieces
Using a measuring tape, measure the length of the area where you want to install the vinyl siding trim. Mark the measurements on the trim pieces using a pencil. Use a saw to cut the trim pieces to the desired length.
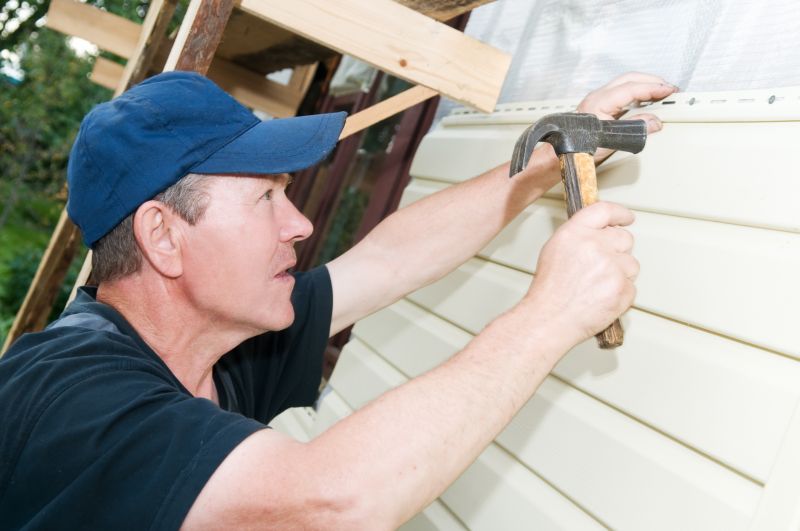
Step 2: Attach the Trim Pieces
Hold the trim piece against the wall and make sure it is level. Use a screwdriver to attach the trim piece to the wall using nails. Place nails approximately every 12 inches along the trim piece to ensure a secure installation.
Step 3: Repeat for Additional Trim Pieces
If you have multiple trim pieces to install, repeat steps 1 and 2 for each piece, ensuring that they are properly aligned and level with each other.
Step 4: Seal the Joints
Apply a bead of caulk along the joints where the trim pieces meet to create a watertight seal. Smooth the caulk using a caulk smoothing tool or your finger.
Step 5: Finishing Touches
Inspect the installed trim pieces for any loose nails or gaps. Hammer any loose nails back in and fill any gaps with caulk. Wipe away any excess caulk with a damp cloth for a clean finish.
Step 6: Maintenance
Regularly inspect the vinyl siding trim for any damage or signs of wear. Replace any damaged trim pieces as needed to maintain the appearance and functionality of your siding.
With these simple steps, you can successfully install vinyl siding trim to enhance the look and protection of your home.